Back in the shop after a couple of weeks away on vacation. I’ve made some good progress on the OM acoustic build, starting with getting the abalone shell rosette installed on the soundboard.
The plan was to do the abalone rosette with a narrow ring of black/white/black purfling offset a little bit on either side. Once I got rolling, though, I changed my mind and put the b/w/b purfling so it borders both sides of the abalone. The abalone rosette was a little uneven on the edges, so putting the purfling on either side seemed to even out the look of the edges.
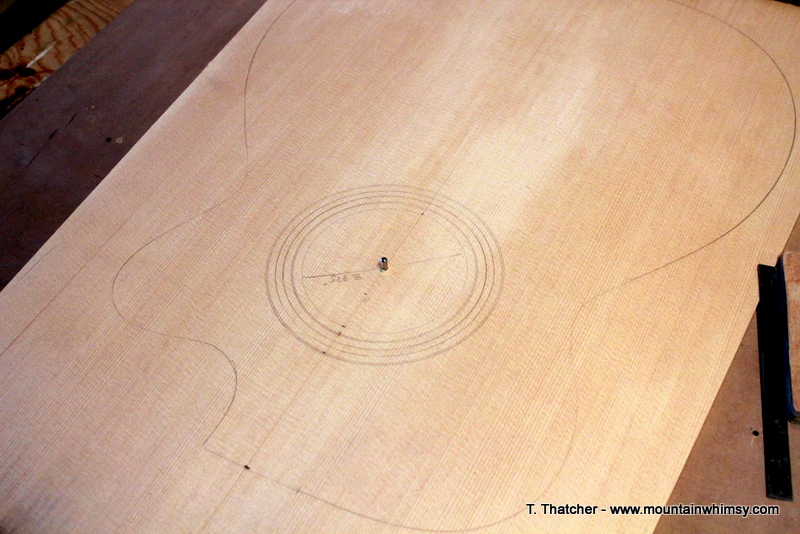
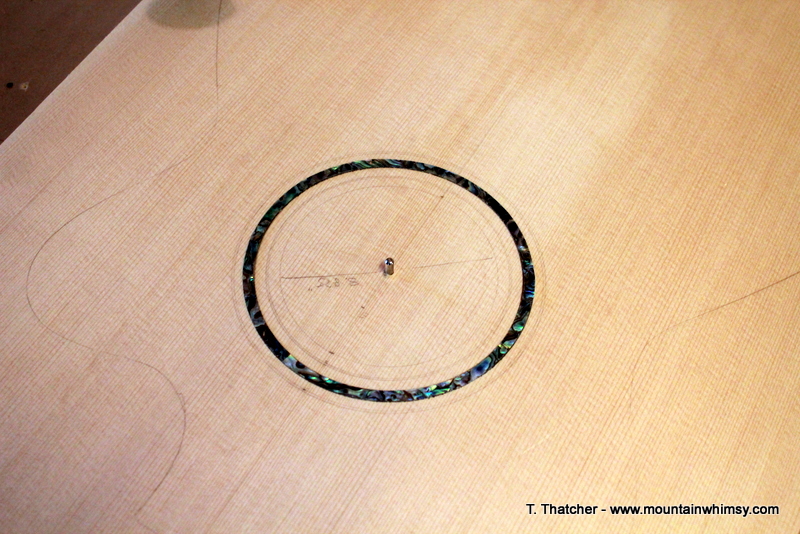
Just the abalone, dry fit in the routed channel. This is all done with the soundboard at full thickness. Once the rosette is installed and sanded flush, I’ll thickness the entire soundboard from the back side.
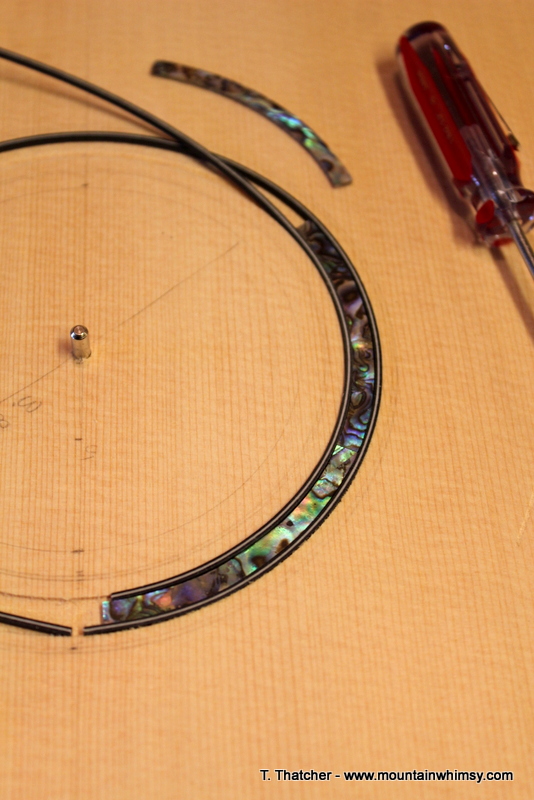
And dry fitting the abalone with the purfling.

This was my first attempt at installing a rosette, so I was a bit apprehensive. It is definitely one of those “you only get one shot at this” steps, and I didn’t want to ruin a lovely spruce top.
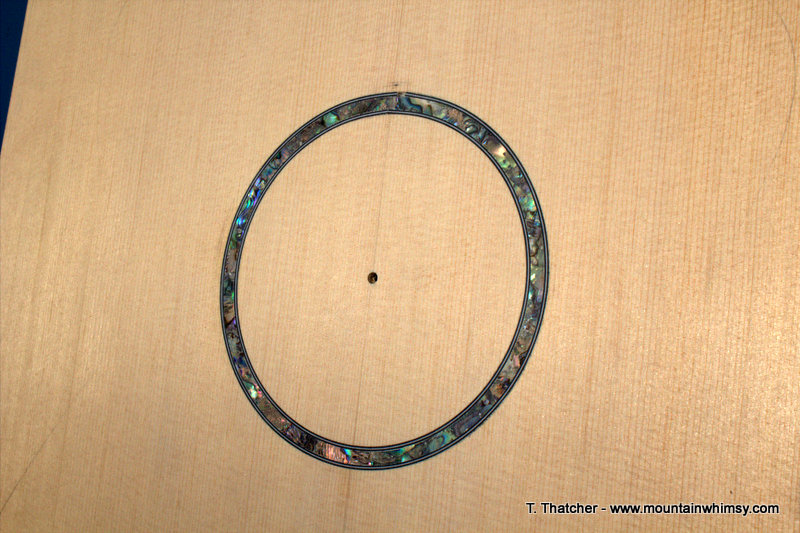
And all glued and sanded flush. Next time I need to make my route a little deeper so I don’t have to sand as much. Luckily I did not sand through the nicest coloring in the shell, as can happen when using real shell. Lessons learned.
Here’s a video of the final glue-up. I used Duco Cement for the install. I was surprised at how little information there is out there about installing a shell rosette. I wanted to avoid using CA glue due to it’s reputation for discoloring the spruce top where it absorbs into the end grain of the rosette channel. Duco was the most referenced glue, so I went with it, and it seemed to do the job just fine. The smell of modeling glue brought back memories of building ship and car models as a kid.
[youtube http://www.youtube.com/watch?v=MdrwL7NlG4E]


