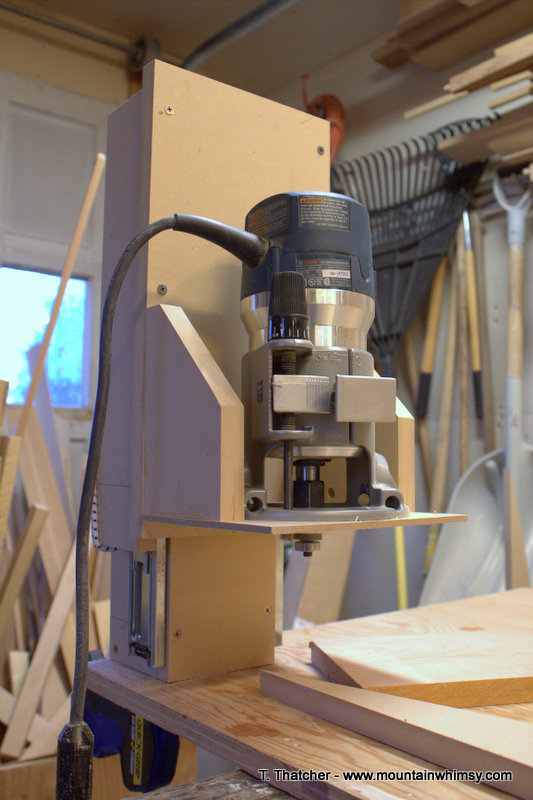
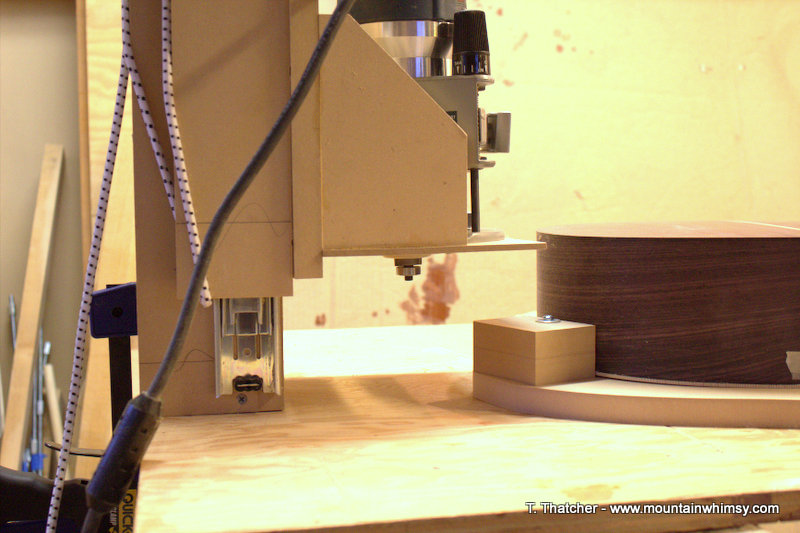
On to the binding. Following in my path of building what I can to save money, I came up with my own binding routing jig. Watch out StewMac! These things are actually pretty easy to build. I made mine with a bunch of scrap MDF, a pair of under-drawer slides, a nylon washer and a piece of bungee cord. The sled that holds the guitar level is again made of scrap mdf, 4 bolts, washers, and t-nuts. Total cost: ~$20. The bungee cord is to take up the weight of my full-sized router and the mdf carriage.
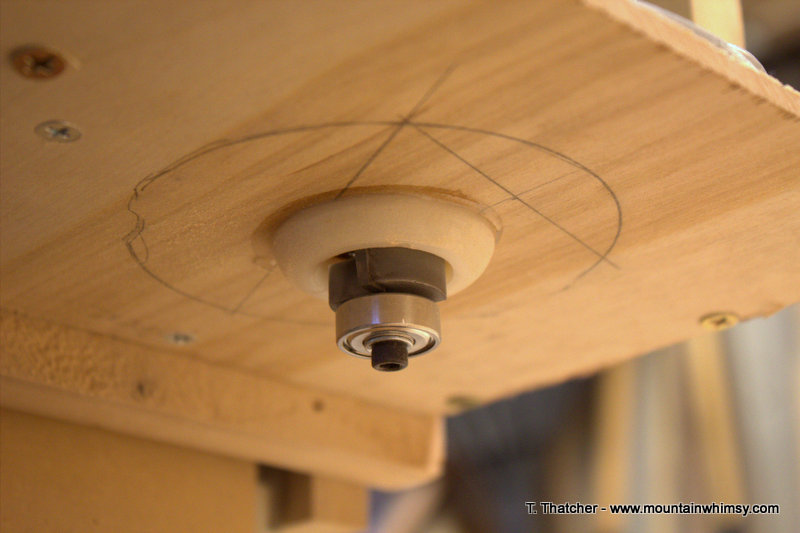
I shaped a large nylon washer that I found in the local hardware store by hand on a disk sander. This bushing rides along the top or bottom of the guitar, while the guide bushing on the router bit follows the side of the guitar. The rounded edge of the bushing allows the guitar to slide under the bushing. A slightly larger bushing would be helpful to allow a larger flat surface around the router bit. But for about $2, this was an easy option. The guide bearing is sized to allow the router bit to cut to a precise depth. This depth is equal to the binding size, or the size of the binding and purfling combined. The combination of the bearing on the side controlling depth of cut and the bushing controlling the height of the cut ensures that the binding channel is equal around the entire edge of the guitar.
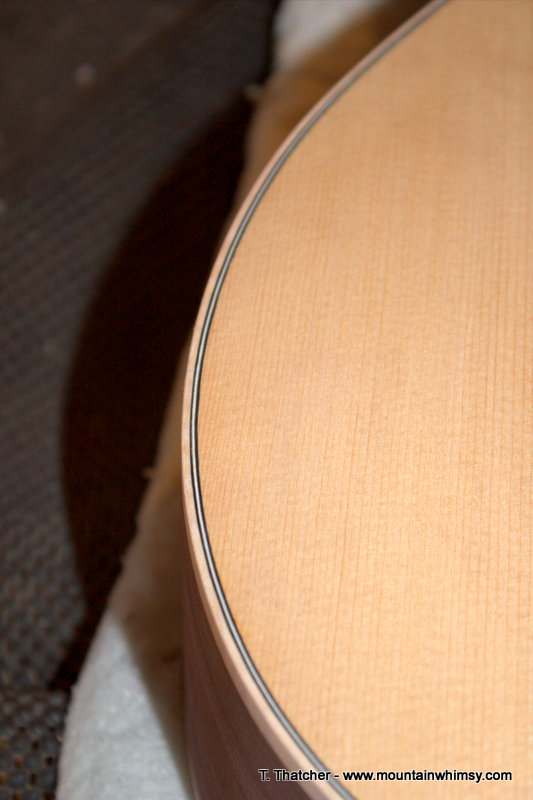
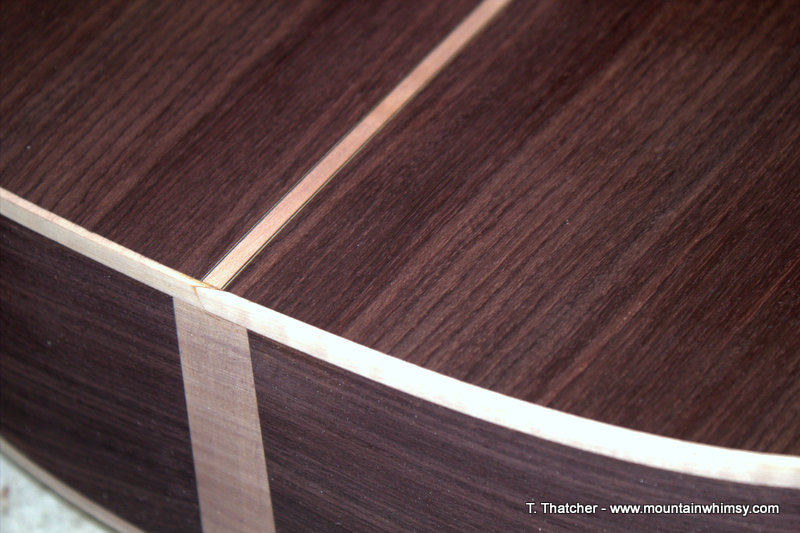
The binding and purfling channels came out spot on.
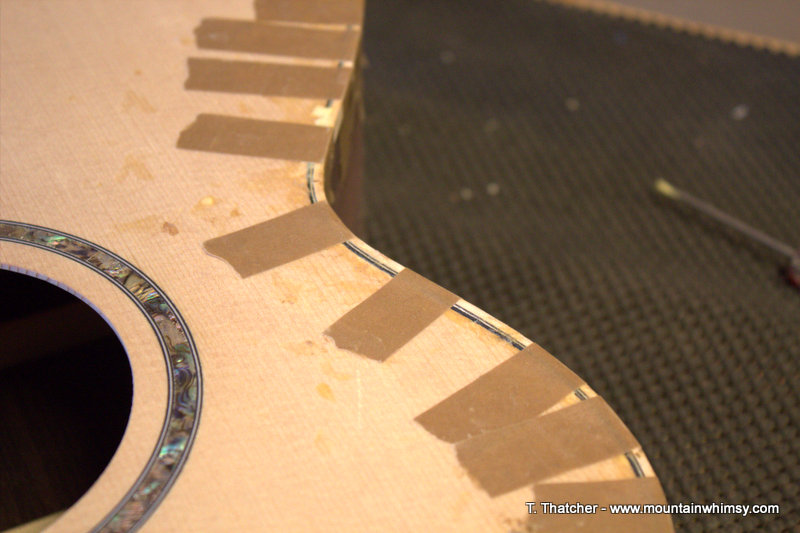
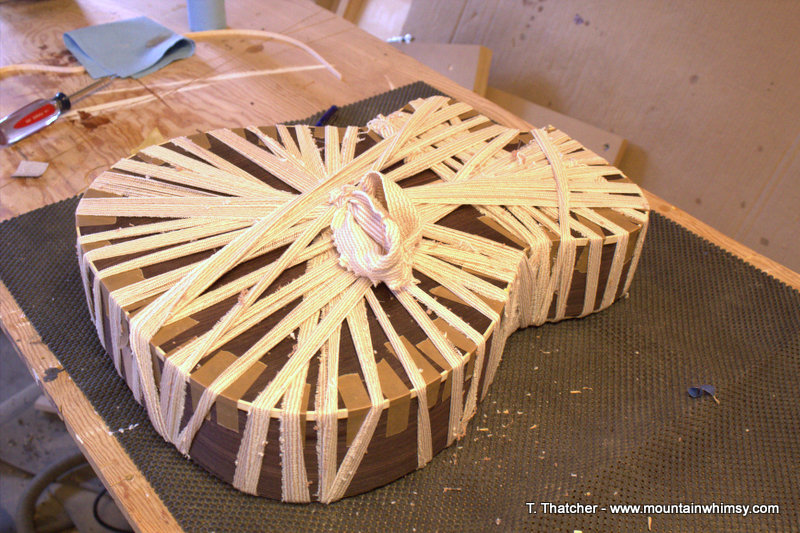
As the binding is wood, and the black strips on the purfling are some sort of papery fiber, I used Titebond II glue. The Stewmac binding tape was used to “clamp” the binding in place while the glue dried. The special tape is worth it. On the Les Paul I used blue masking tape which proved to not be very strong. The special binding tape is much heavier duty and can be pulled across the sharp edge of the binding without tearing. I then used an old Ace bandage cut into three strips and tied together to wrap the entire guitar and binding. I’m not sure if this really helped, but it certainly added some extra clamping pressure as the glue dried.
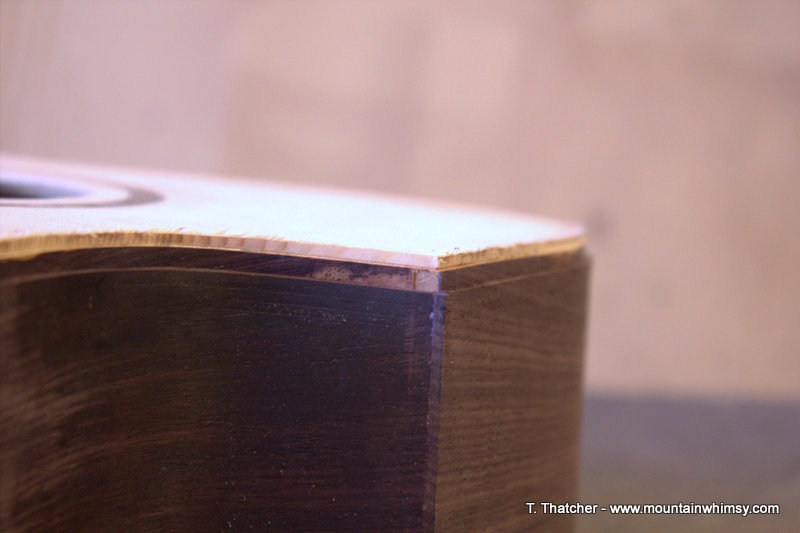
A couple of hours with the card scraper and sanding blocks brings the binding and purfling level with the top, back, and sides. There is only a very small section on the back of the guitar where the is a hairline gap between the binding and side. This should disappear during the finishing process.
I love the steps of a project where in a short time the project takes on a whole new personality.
On to the neck!
4 Comments
-
Hi Tony,
The guitar is looking great! I’m currently building my first boat and I was very much inspired by your melonseed project. I’ve also been building guitars for many years, so it was neat to stumble onto this blog. Keep up the good work! TC
-
Author
Tim. Your melonseed is looking great! It’s always fun to watch one of those take shape. Everyone takes a little different spin on it. The move from boats to guitars was a good one for me. Guitars take up less space, cost less to build, and don’t consume my life the way a boat does. And I’m a sucker for wooden things with curves!
-
-
Cool guitar jig, I want to build my own thanks.

