Time for a big “catch up” post. Since building the drum sander I’ve been making steady progress on this trio of guitars.
First up was putting the radius on the top and back, ensuring that the depth of the body is even side-to-side and the correct depth at tail and heel. The radius dish is your friend. I use a block plane to quickly take down the high spots noted when the sides are set in the dish.
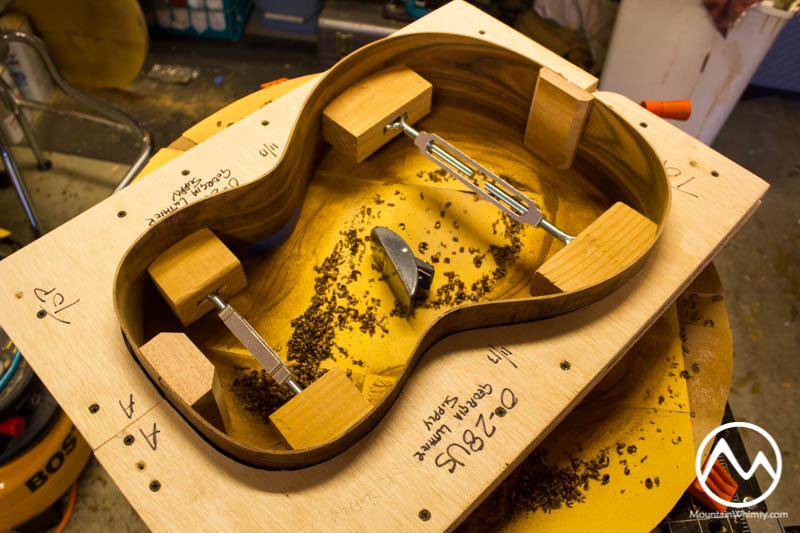 Then you do the “truck driver” motion turning the sides in the dish to take the sides down to perfectly match the dish. The tail and heel blocks also get radiused. When you see a nice even distribution of sawdust showing the outline of the guitar, you know you have the radius set across the entire edge of the guitar.
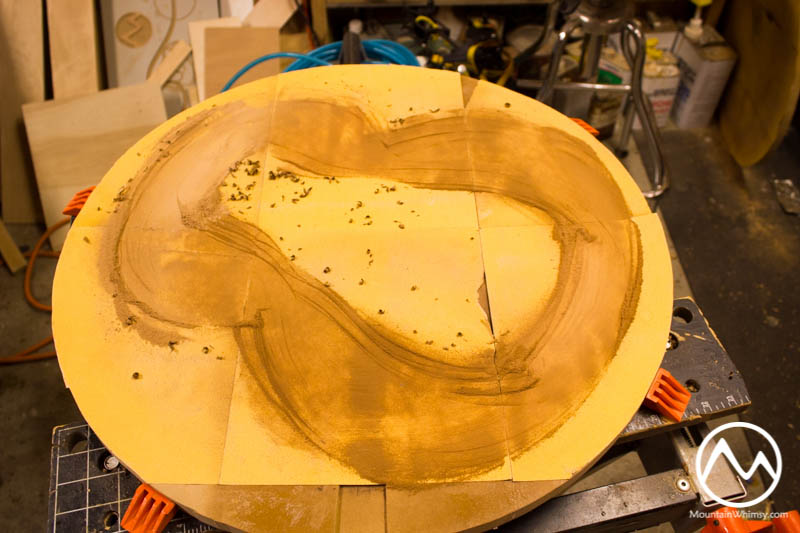 Then the kerfing is installed slightly proud of the guitar edge and again radiused to the dish. This puts a slight bevel in the edge of the guitar and kerfing to match the curve of the back and top of the guitar.
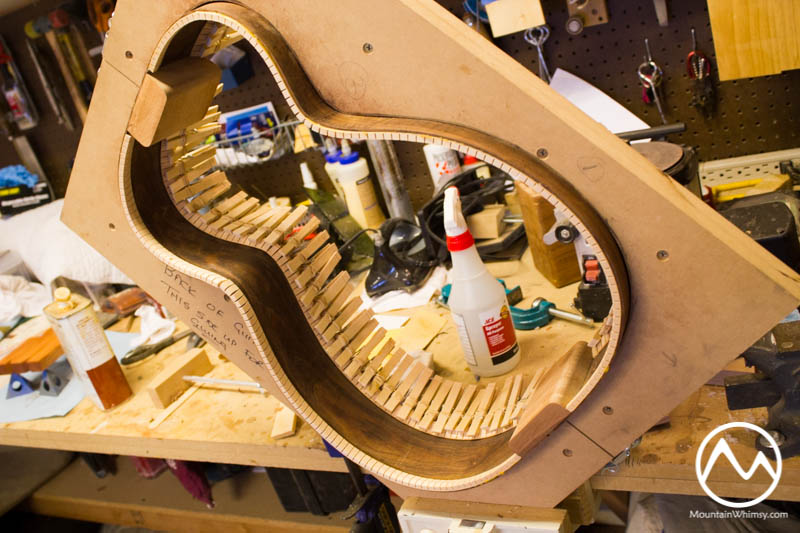 I added some internal bracing to the guitar with the Peruvian walnut back and sides. I am finding this type of walnut is pretty brittle, so a little extra support is in order.
 All three backs joined. The two Chechen backs (middle and right) are both four-piece backs, with a narrow strip on the outsides to cover the lower bout. I’ll run all of them through the drum sander to clean them up and level them out before adding reinforcement strips to the joints and bracing.
 And I’m gluing up the soundboards as I am already set up for doing plate joining.
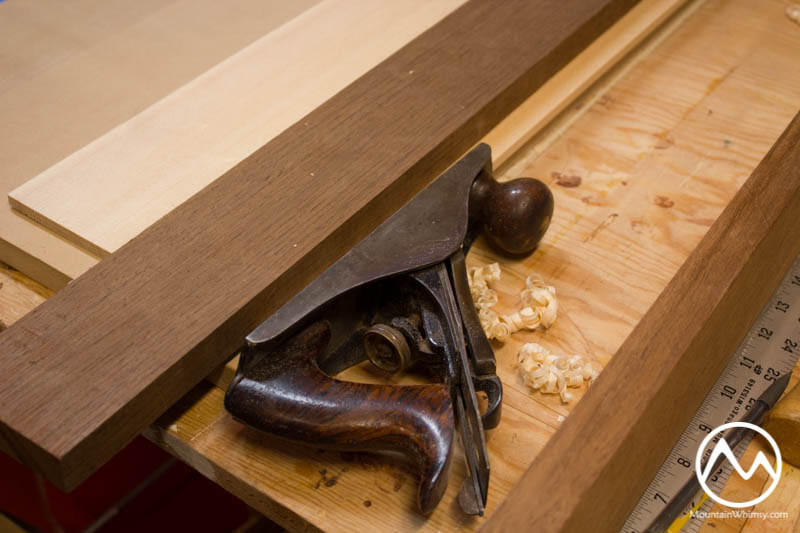

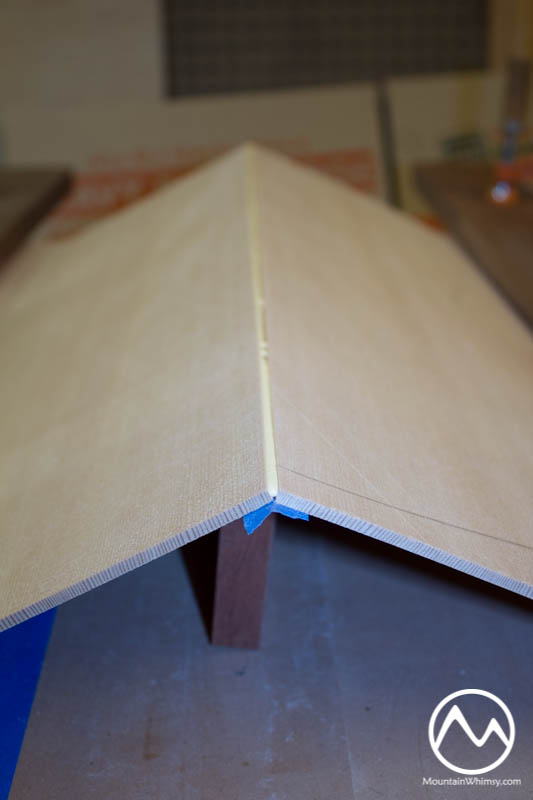

A nice stack of backs and sound boards. I have one extra sound board, just in case.

There are huge differences between the Chechen and the Peruvian walnut. Other walnuts I have worked with are much denser than the Peruvian, which is very open-pored and brittle. The Chechen is quite dense, bent beautifully and takes tools with ease. I’m constantly paranoid with the Peruvian. I have two Peruvian neck blanks that I was planning on using, but may set them aside in favor of mahogany. Still a ways to go before I make that choice.
I scraped down the back strips using a card scraper prior to leveling each of the backs on the drum sander.
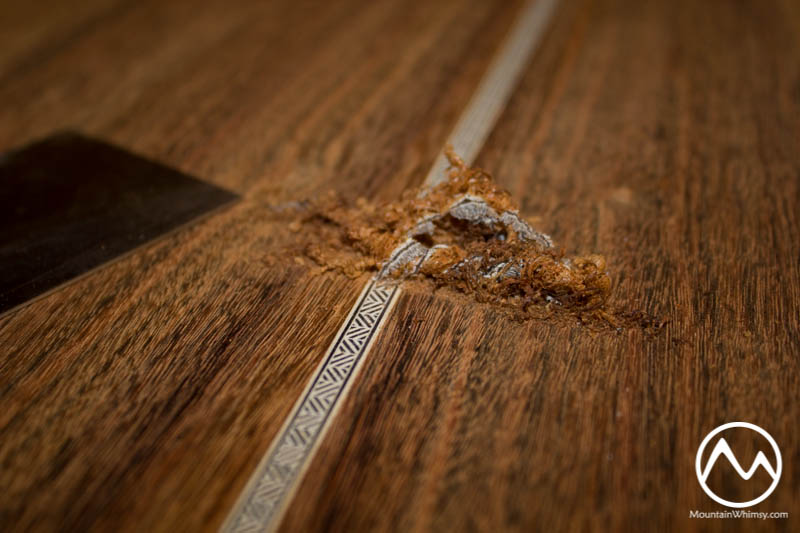 The reinforcement strips on the backs are installed using curved clamping cauls to ensure even pressure. Since two of the backs are actually 4-piece backs, they each get extra reinforcement strips.
 The spruce back bracing was cut on the band saw and the curve is added to each using the radius dish. Now the Go-bar deck comes into play for the glue-up. The Go-bar deck is, in my opinion, is perhaps the coolest clamping method around. For acoustic guitars, it allows the back to be pressed into the shape of the dish so that the curved braces can be glued into place. This sets and holds the curve of the back of the guitar.
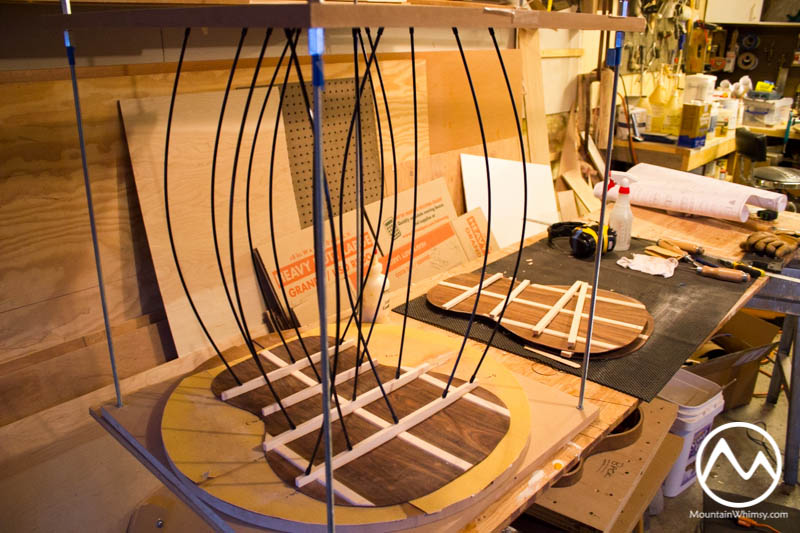
 Here you can see the curve on the back after it is removed from the Go-bar deck.
 The back bracing is carved using a combination of chisels and a small hand plane. Sandpaper is used to clean up the contours. This is a pretty enjoyable process. It goes quickly if your tools are sharp. And the resulting wood curls always make for nice photos.

 End grafts are added to clean up the joint between the sides at the tail of the guitar. For two of the guitars I plan to run the black/white/black purfling around the binding and along the end grafts. So for now I’m just cutting the channel for the end graft. For the third guitar, the 0-28 Parlor, I’m going with a narrow maple wedge.
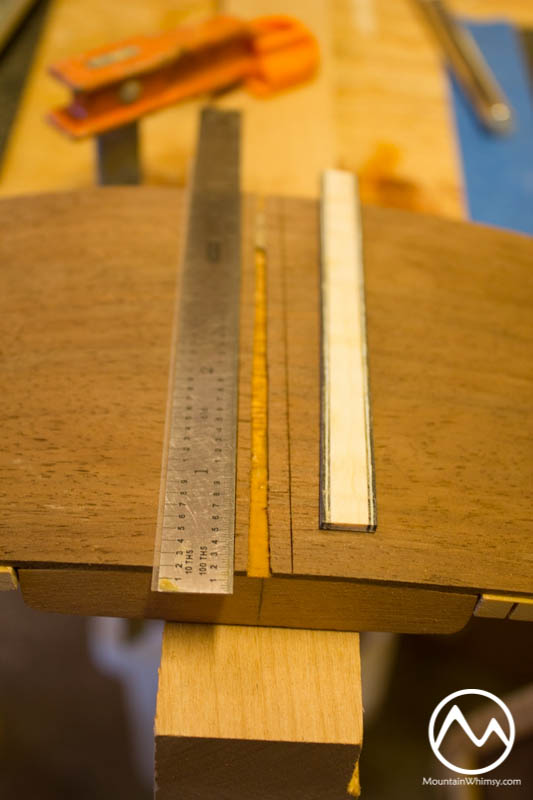 The b/w/b purfling on the binding will be removed and the b/w/b on the end graft will be keyed into the binding so the b/w/b trim will wrap around the top binding, .the end graft, and the lower binding.


 The backs are then joined to the sides using the GoBar mousetrap. The radius dish used for the guitar top is at the bottom of the clamping stack to keep the sides from bending out of shape.
 And the result.

And that’s the full update. A lot of ground covered since completing the drum sander. Next week I will start into the sound boards – rosettes, sound hole, bracing, etc.
2 Comments
-
Nice work. THANKS Tony.
-
Author
Thanks! And you’re welcome!
-
